









|
| Welcome to my workroom! I'm placing there examples of my way of creating some types of art. |
| Example 1. Creation of illustration "Orc Rider" |
| Example 2. Creation of illustration "Alchemist's apprentice" |
| Example 3. Creation of illustration "Elf Horse Archer" |
| Example 4. Interior for HO game, based on 3D grid |
| WORK IN PROGRESS / Example 1 / | 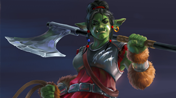 |
| Creation of illustration “Orc Rider” |
| WORK IN PROGRESS / Example 2 / |  |
| Creation of illustration “Alchemist's apprentice” |
| WORK IN PROGRESS / Example 3 / | 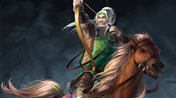 |
| Creation of illustration “Elf Horse Archer” |
| WORK IN PROGRESS / Example 4 / | 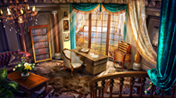 |
| Creation of illustration “Elf Horse Archer” |
|
I began my way in gamedev as a modeller and have worked in this position for 5 years. That why today I often use 3D sketches as a bases of 2D images.
Sometimes it is 3D base for whole image, sometimes - only for background or some details.
|
| Step 1 |
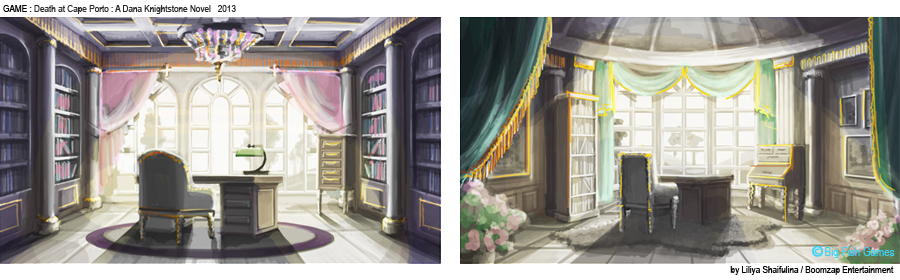
 Roughs I make two brief sketches. |
 |
| Step 2 |
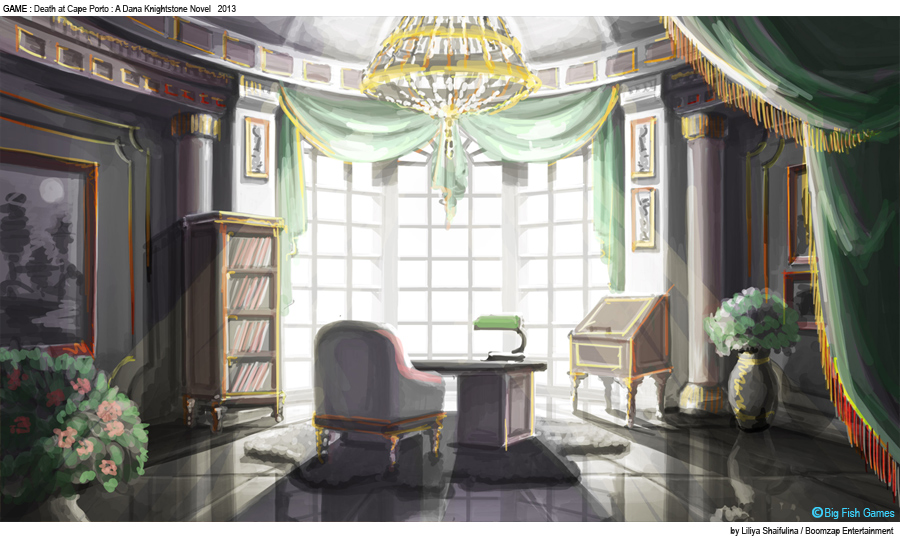
| Detail Rough
The game designer prefers the second variant, but he would like to include the chandelier, the desk and the arm-chair from the first variant. And I make more detail sketch based on the second variant and adding the items from the first one. |
 |
| Step 3 |
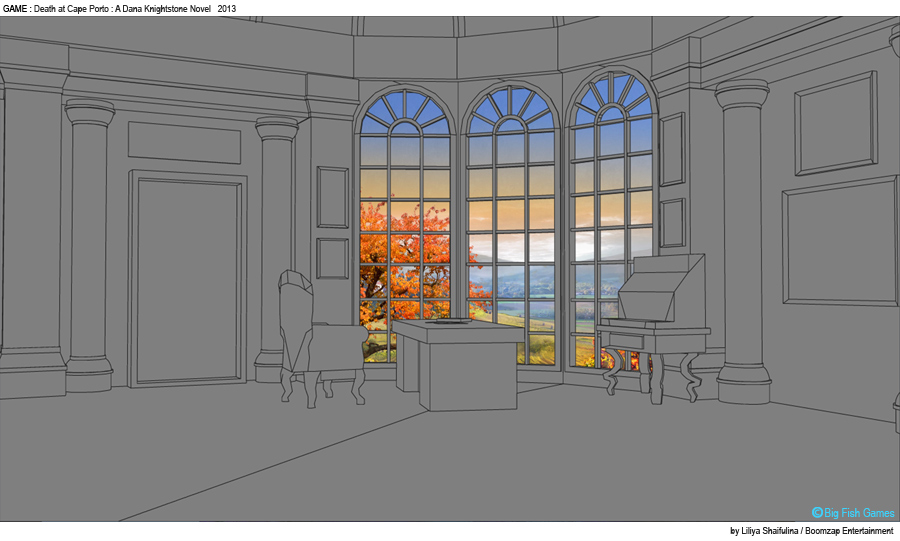
| 3d base Rough
So, the sketch is agreed by game designer and I can start building 3d base. |
 |
| Step 4 |
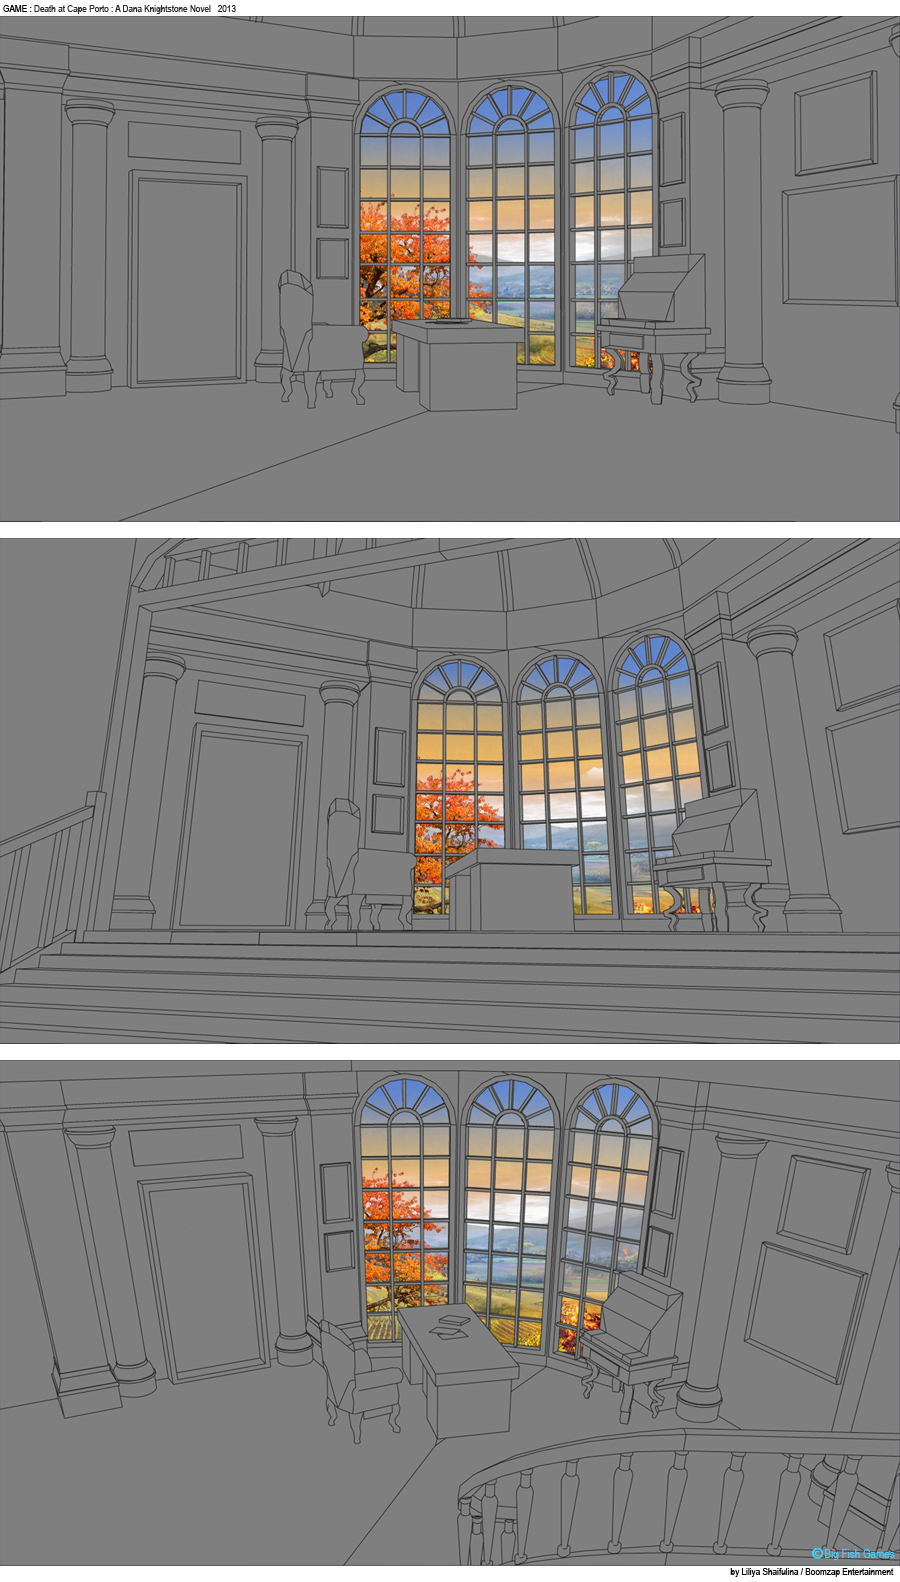
| Final 3D Rough
Now the room doesnt look catchy but the main advantage of 3D programs is that they allow me to change angles and depth of an image momentarily : bend, turn up, mess about at my pleasure. That's why I make 2-3-4 variants turning the camera hither and thither looking for the most distinctive view. For example, like that |
 |
| Step 5 |
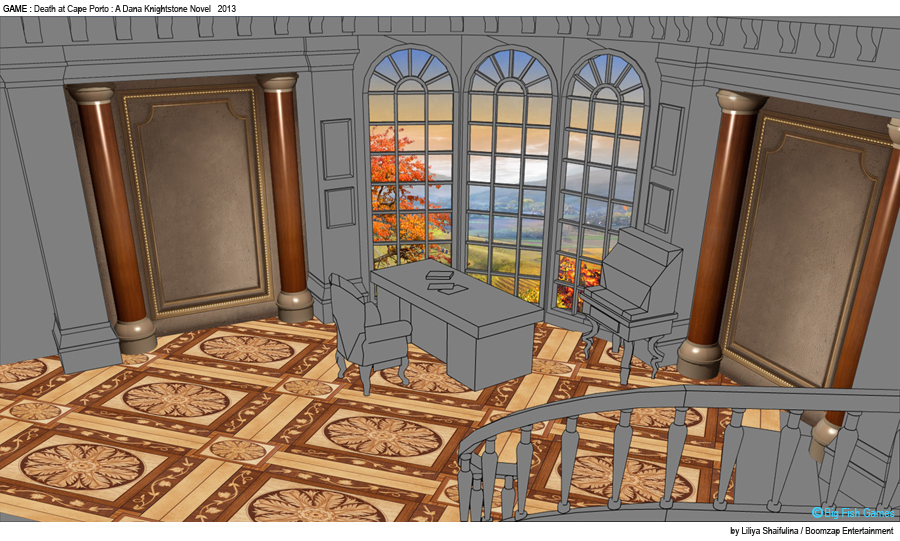
| Textured 3D final Rough
After having chosen the best perspective, I texture the model in Maya, but not entirely, only the bigger areas - floor, walls, pillars. I don't insert the Maya's light sources, therefore the model will be rendered without light and shadows. I'll draw them in later with the help of Photoshop. |
 |
| Step 6 |
| Detailing
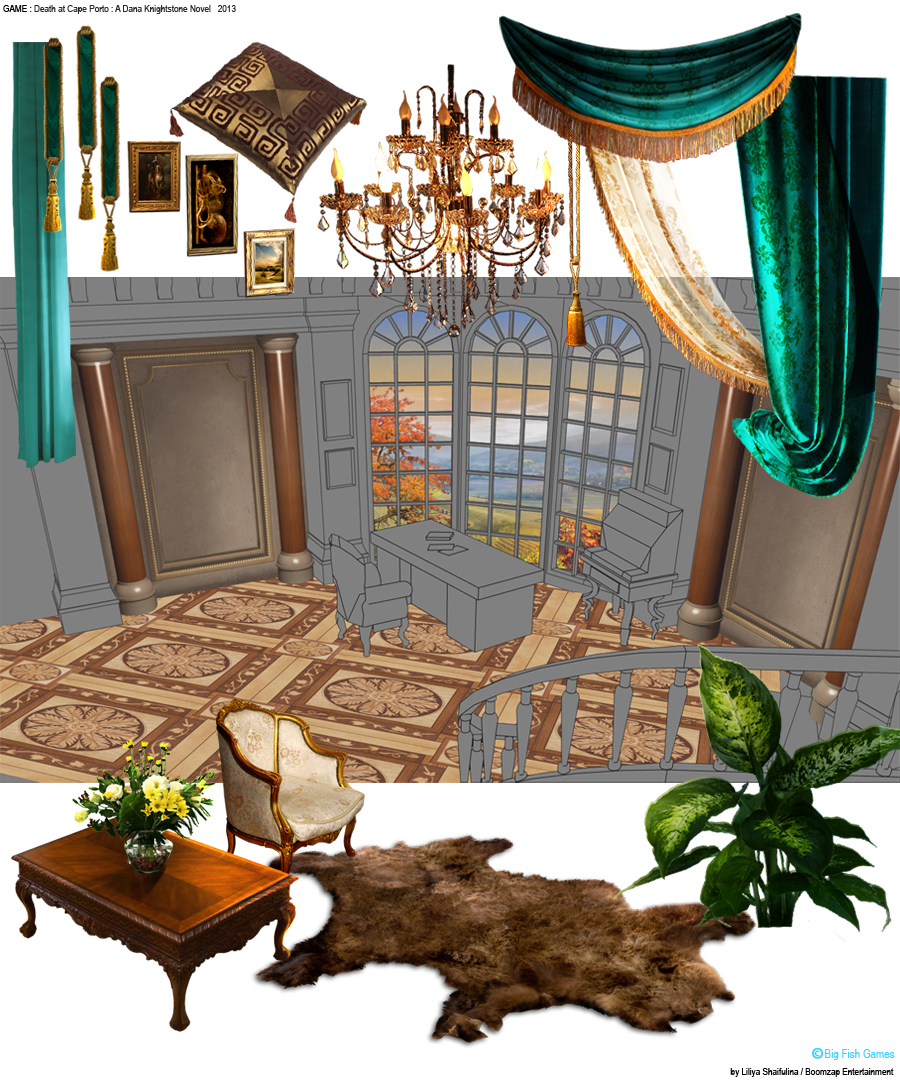
Next stage is the painstaking and the longest - adding details. |
 |
| Step 7 |
| Light and shadows
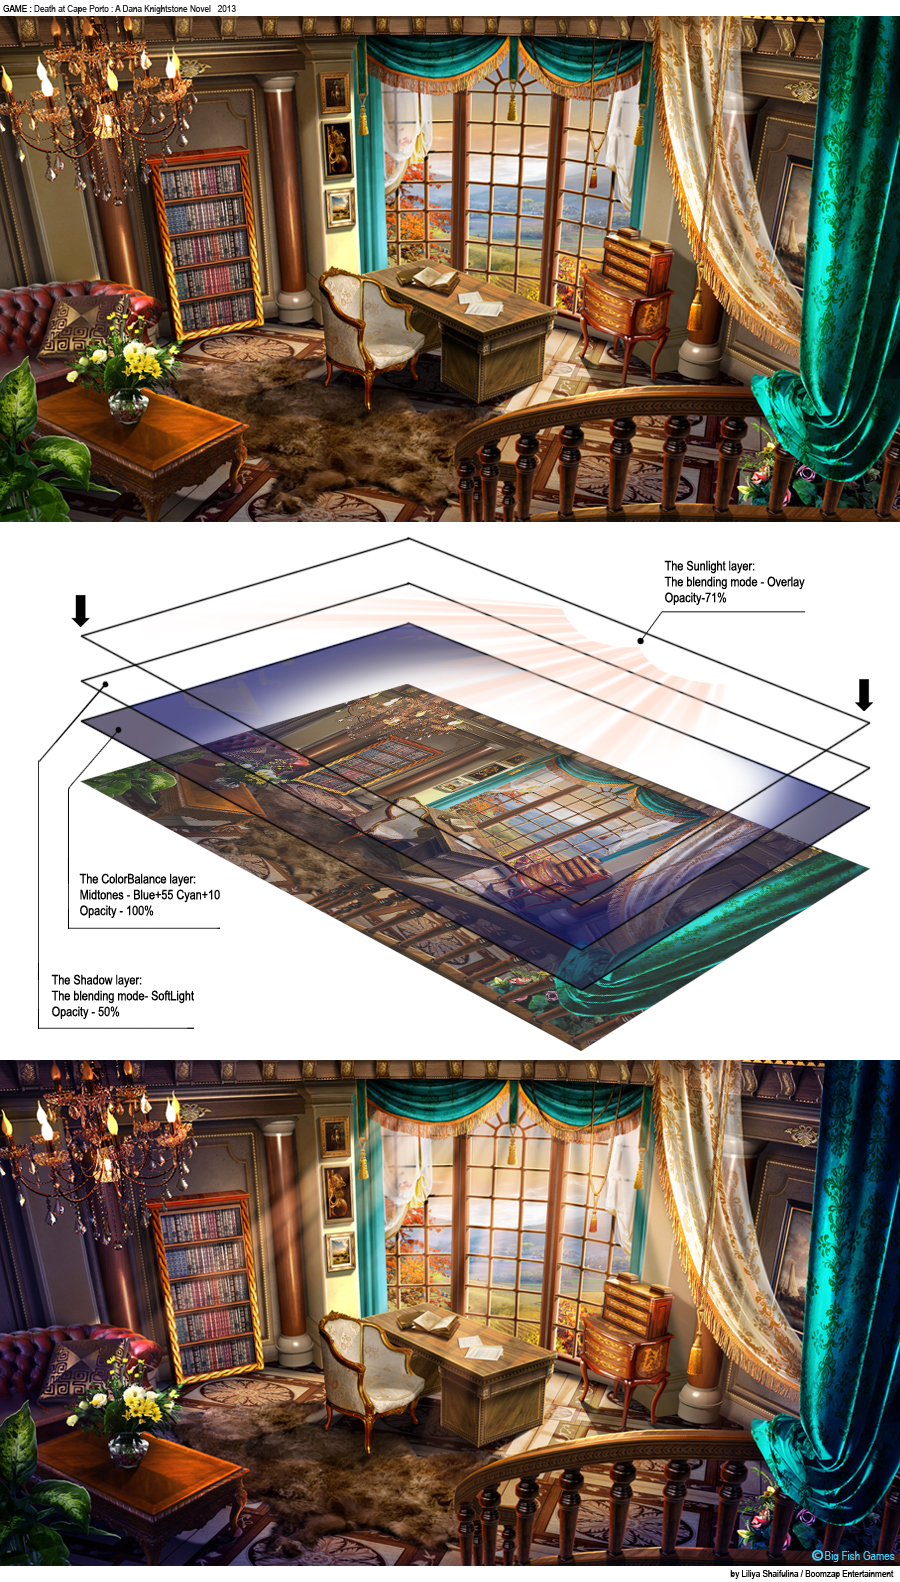
Well, the room is filled with details, and they even have theirown down coming shadows. But anyway the image looks as a set of unconnected pieces. What can unit them? Light and shadows. The main light sourse is sun races going from the window. I draw them as a separate layer which is semitransparent and it is overlayed by "Overlay". Then I make one more layer with violet shadows on the edge of the image. It is semitransparent too and it has a "SorfLight" method of overlay. And finally - third layer "ColorBalance" allow me to creat the congenerous color temperature and a congenerous tom of the whole image. Click "MergeVisiable" and put all layers together. |
 |
| Step 8 |
| Animation
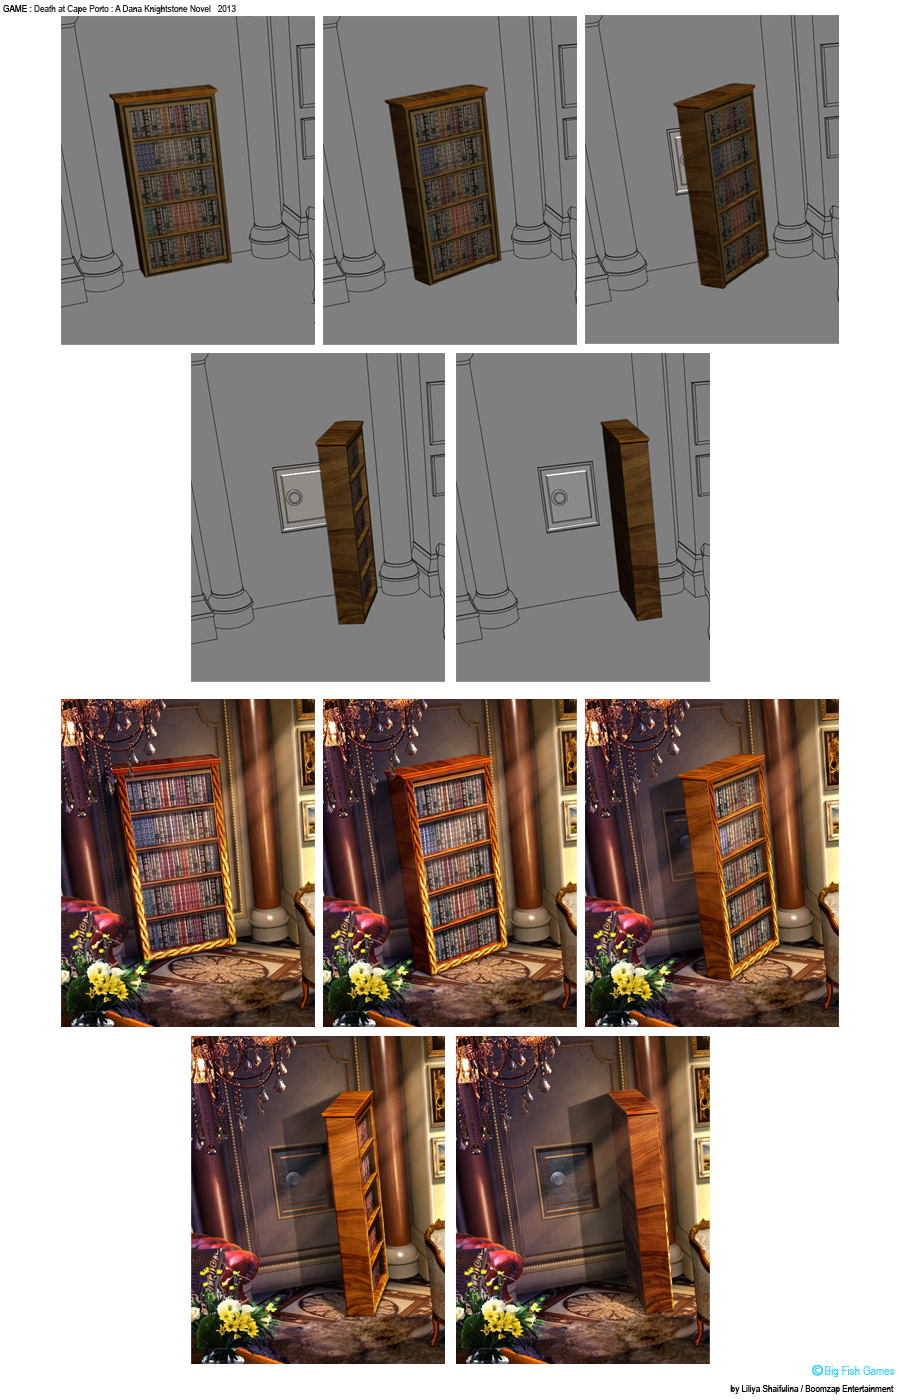
To make animation smooth, we need at least 5 shots and I'm going to make them in Maya, cause 3D animation is made quickly and in going to be perfectly correct and convincing. Of course, images rendered in Maya have to be a bit edited in Photoshop. |
 |
| Step 9 |
| Final animation
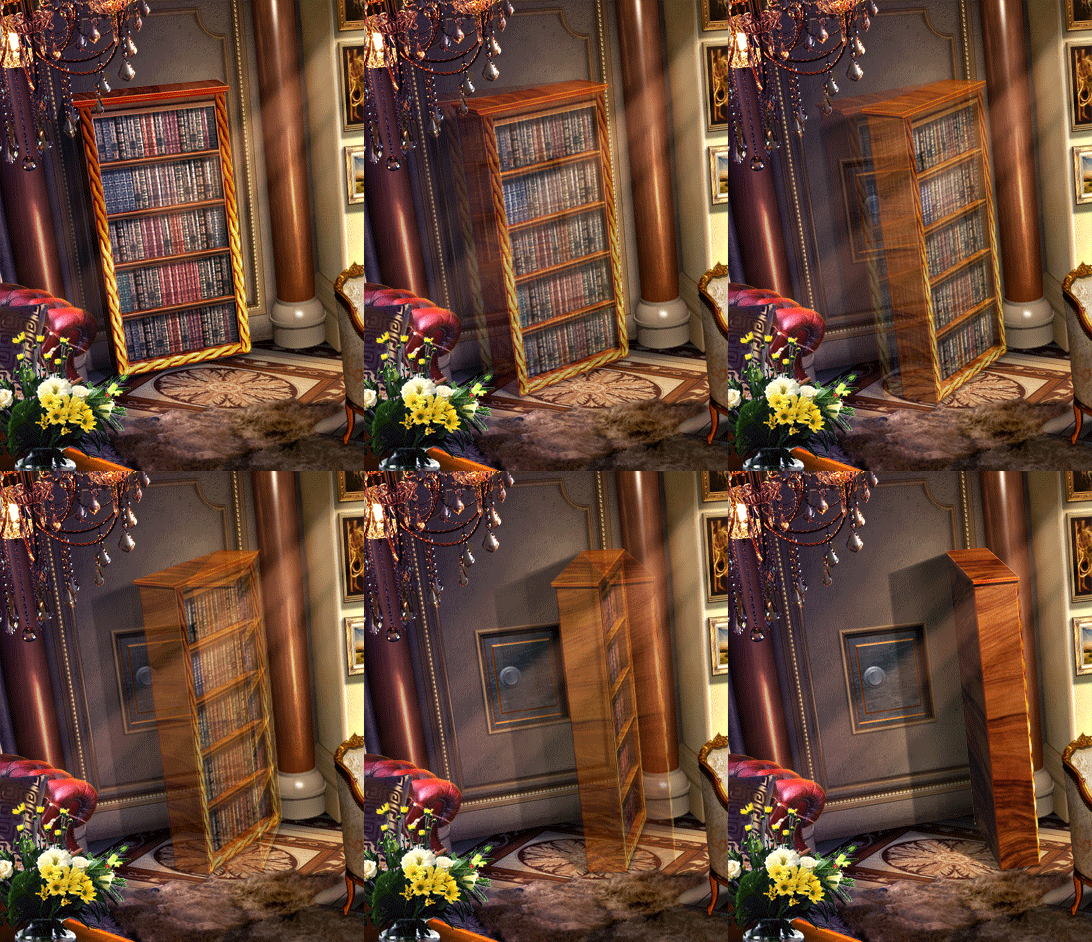
In game process opening of the case looks thus |
 |
| Step 10 |
| Final variant
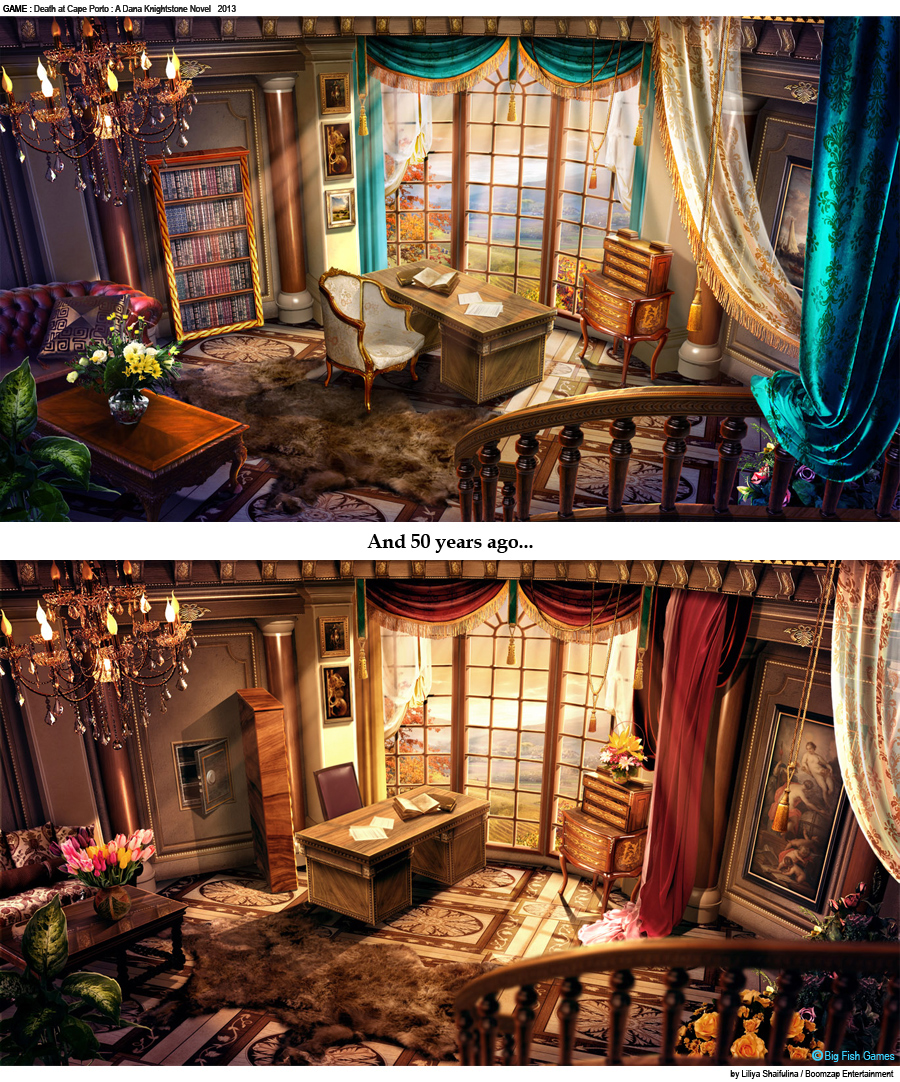
So, the room and its animation are complete! O, yeah! In the game we can see this room today, as easily 70 years ago, in the former manor owner's recollections. I'm replacing a number of interior details, adding filters making the picture look like an old photo and "study 70 years ago" is also ready. |
 |
|
